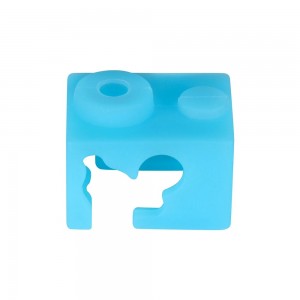
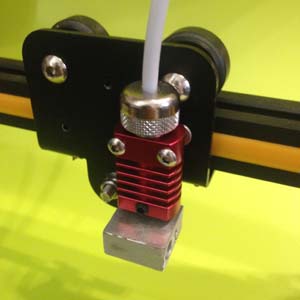
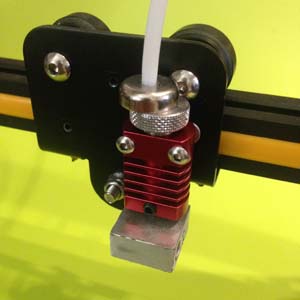
The Magnet_MK10 allows to connect your extruder to the hotend in bowden mode.
Screwed on extruder side and magnet on hotend side.
System improved & guaranteed for 2 years on our hotends.
The solution to the problems of broken pneufits, gnawed PTFE tube, mechanical play, missed prints .....
Mounting on most Chinese printers (Cr10, Ender, Tevo, Alfawise,biquB1 etc ...) and hotend clone E3D
Composition du kit :
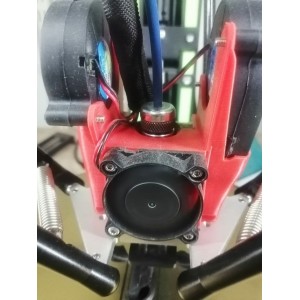
For printers with Titan & Bondtech extruder, a STL is supplied (see "Attached documents" tab).
Caution, the Neodymium magnet cannot withstand an ambient temperature of +85°C .
 |
Remove the connection of your extruder as well as your hotend.Dismantle your hotend and clean it. |
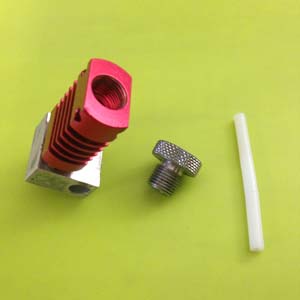 |
Use the 65 mm PTFE or Capricorn XS tip (included in the kit). |
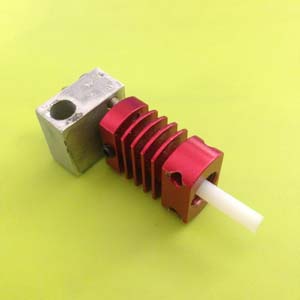 |
Push the PTFE or Capricorn XS tube into the stop. If you do this operation with the hotend mounted, it is best to heat the hotend so that the tube is in contact with the nozzle. |
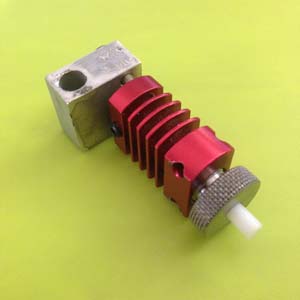 |
Screw the knurled piece onto the hotend and tighten it manually. |
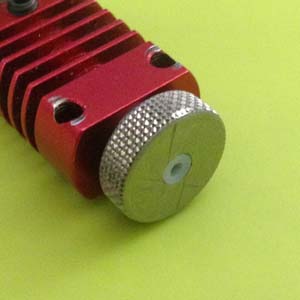 |
Very important step ! Using a cutter, gradually cut the PTFE tube all the way round. Do not cut it all at once, so that the cut is perpendicular and flush with the workpiece. |
 |
Put 4 washers on the 2 fixing screws of the hotend. |
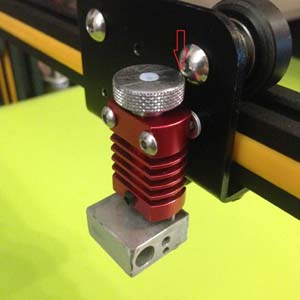 |
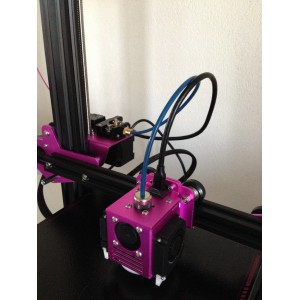
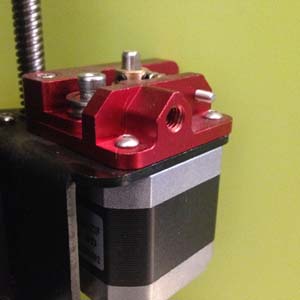
Fix your hotend on the X trolley. Check that the knurled piece is not in contact with the right hand screw of the trolley. |
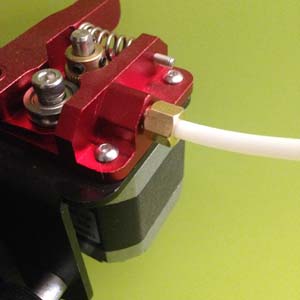 |
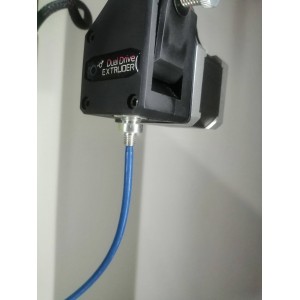
Take the PTFE tube from our kit and screw the M6 or G1/8 brass fitting onto your extruder. CAUTION, tighten slightly or the part will break. A STL is provided at the bottom of the page for Titan & Bondtech extruders to screw |
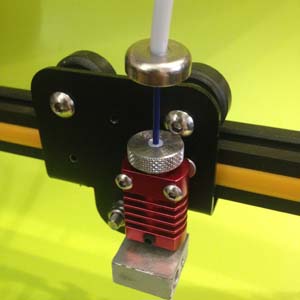 |
Insert a filament into your extruder and pull it out of the PTFE tube. Insert the filament into the hotend to center the assembly. |
 |
Come and put the magnet in contact with the hotend. You have just finished assembling the "Magnet MK10" !! |
 |
Tip :To disconnect the magnet, remove the filament from the hotend and slide the magnet to the right or left. |
 Gabriel L.
Conforme a mes attentes, facile a installer
Claude E.
Qualité du matériel, rapidité de l'envoi et emballage correct
Patrice g.
Très utile
Michel F.
Super : matériel durable , celui-là est pour une autre imprimante que celle déjà équipée depuis au moins 2 ans...
PATRICK R.
Une grande différence avec le tube fourni d'origine sur la Creality CR10. Les frottements du filament dans le tube ont presque disparu, ce qui améliore la qualité de mes impressions.
The Magnet_MK10 allows to connect your extruder to the hotend in bowden mode.
Screwed on extruder side and magnet on hotend side.
System improved & guaranteed for 2 years on our hotends.
The solution to the problems of broken pneufits, gnawed PTFE tube, mechanical play, missed prints .....
Mounting on most Chinese printers (Cr10, Ender, Tevo, Alfawise,biquB1 etc ...) and hotend clone E3D